
This silky vanilla custard pudding is a timeless dessert that evokes warmth, comfort, and elegance in every spoonful. With its rich, velvety texture and mellow sweetness, it’s the kind of treat that feels both indulgent and soothing. The custard is made from simple ingredients—milk, eggs, sugar, and vanilla—yet the result is a luxurious, golden-hued pudding that glides across the palate. Whether served warm or chilled, it offers a satisfying finish to any meal and can be dressed up with fruit, nuts, or a drizzle of caramel. This recipe is designed to yield a flawless, smooth surface and a spoonable consistency that holds its shape without being stiff. It’s ideal for family gatherings, quiet evenings, or celebratory dinners where a classic dessert is always welcome.
INGREDIENTS:
- 4 cups whole milk
- 4 large egg yolks
- 2 tablespoons cornstarch
- ½ cup granulated sugar
- 1 tablespoon unsalted butter
- 1½ teaspoons pure vanilla extract
- Pinch of salt
INSTRUCTION:
- Prepare the Ingredients: Begin by separating the egg yolks from the whites. Place the yolks in a medium mixing bowl and discard or reserve the whites for another use. Measure out the milk, sugar, cornstarch, butter, and vanilla extract. Having everything ready ensures a smooth cooking process.
- Whisk the Egg Yolks and Sugar: In the mixing bowl with the egg yolks, add the granulated sugar and whisk vigorously until the mixture becomes pale and slightly thickened. This step helps dissolve the sugar and aerate the yolks, contributing to a smooth custard texture.
- Add Cornstarch and Salt: Sprinkle in the cornstarch and a pinch of salt. Continue whisking until the mixture is fully combined and no lumps remain. Cornstarch acts as a thickening agent, giving the pudding its signature body without compromising its silkiness.
- Heat the Milk: In a heavy-bottomed saucepan, pour in the milk and place it over medium heat. Warm the milk until it begins to steam and small bubbles form around the edges—do not let it boil. Stir occasionally to prevent scorching.
- Temper the Egg Mixture: To avoid curdling the eggs, temper them by slowly adding a ladleful of the hot milk into the egg mixture while whisking constantly. Repeat this process with another ladleful. This gradual heating allows the eggs to adjust to the temperature without scrambling.
- Combine and Cook: Pour the tempered egg mixture back into the saucepan with the remaining milk. Reduce the heat to medium-low and cook, stirring constantly with a wooden spoon or silicone spatula. Scrape the bottom and sides of the pan to prevent sticking. The custard will begin to thicken after 5–7 minutes.
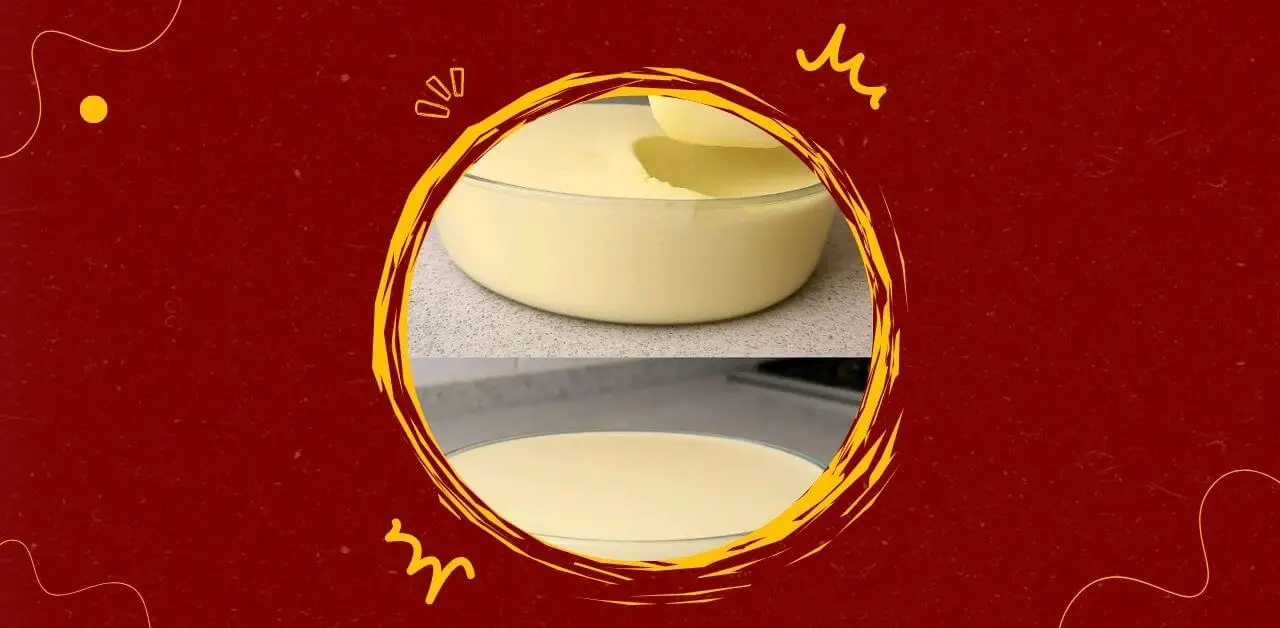
- Check for Doneness: The pudding is ready when it coats the back of the spoon and leaves a clear trail when you run your finger through it. It should be thick but pourable, with a glossy finish. Remove from heat immediately to prevent overcooking.
- Add Butter and Vanilla: Stir in the butter and vanilla extract while the custard is still warm. The butter adds richness and sheen, while the vanilla infuses the pudding with aromatic depth. Mix until fully incorporated.
- Strain for Smoothness (Optional but Recommended): For an ultra-smooth texture, pour the custard through a fine mesh sieve into a clean bowl. This step removes any tiny bits of cooked egg or undissolved starch, ensuring a flawless finish.
- Cool and Set: Transfer the custard into a large serving bowl or individual ramekins. Cover the surface directly with plastic wrap to prevent a skin from forming. Let it cool to room temperature, then refrigerate for at least 2 hours to set.
- Serve: Once chilled, remove the plastic wrap and serve as is or garnish with fresh berries, a sprinkle of cinnamon, or a dollop of whipped cream. The pudding should be smooth, creamy, and hold its shape when scooped.
SERVINGS: This recipe yields approximately 6 generous servings. It can be portioned into individual cups or served family-style from a large bowl. For smaller servings, it can stretch to 8 portions.
NOTE:
- Milk Matters: Whole milk provides the best balance of richness and creaminess. Avoid skim milk, which may result in a thinner texture. For added indulgence, substitute 1 cup of milk with heavy cream.
- Cornstarch Control: Adjust the cornstarch slightly for a firmer or looser pudding. More cornstarch yields a thicker set, while less keeps it softer.
- Flavor Variations: While vanilla is classic, you can infuse the milk with cinnamon sticks, citrus zest, or cardamom pods during heating for subtle flavor twists. Strain before combining with the egg mixture.
- Texture Tips: Constant stirring is key to preventing lumps and ensuring a silky finish. Use a spatula to reach all corners of the pan.
- Serving Temperature: This pudding is versatile—serve warm for a cozy treat or chilled for a refreshing dessert. If serving warm, allow it to cool slightly to thicken before plating.
- Storage: Store covered in the refrigerator for up to 3 days. The texture remains smooth and pleasant, though the flavor deepens slightly over time.
- Presentation Ideas: For a refined look, spoon the pudding into glass cups and top with a thin layer of caramel sauce or crushed nuts. For a rustic feel, serve in ceramic bowls with a sprinkle of nutmeg.
- Avoiding Skin Formation: Always press plastic wrap directly onto the surface of the custard while cooling. This prevents the formation of a rubbery skin that can affect texture.
- Reheating: If you prefer warm pudding, gently reheat in a saucepan over low heat, stirring constantly. Do not microwave, as it may cause uneven heating and curdling.
- Egg Safety: Tempering the eggs is crucial to avoid scrambling. If unsure, use a thermometer and keep the mixture below 180°F (82°C).
- Batch Preparation: This recipe scales well. For larger gatherings, double the ingredients and use a wide saucepan to ensure even cooking.
- Custard vs. Pudding: While often used interchangeably, custard typically relies on eggs for thickening, while pudding may use starch alone. This recipe blends both for optimal texture and flavor.