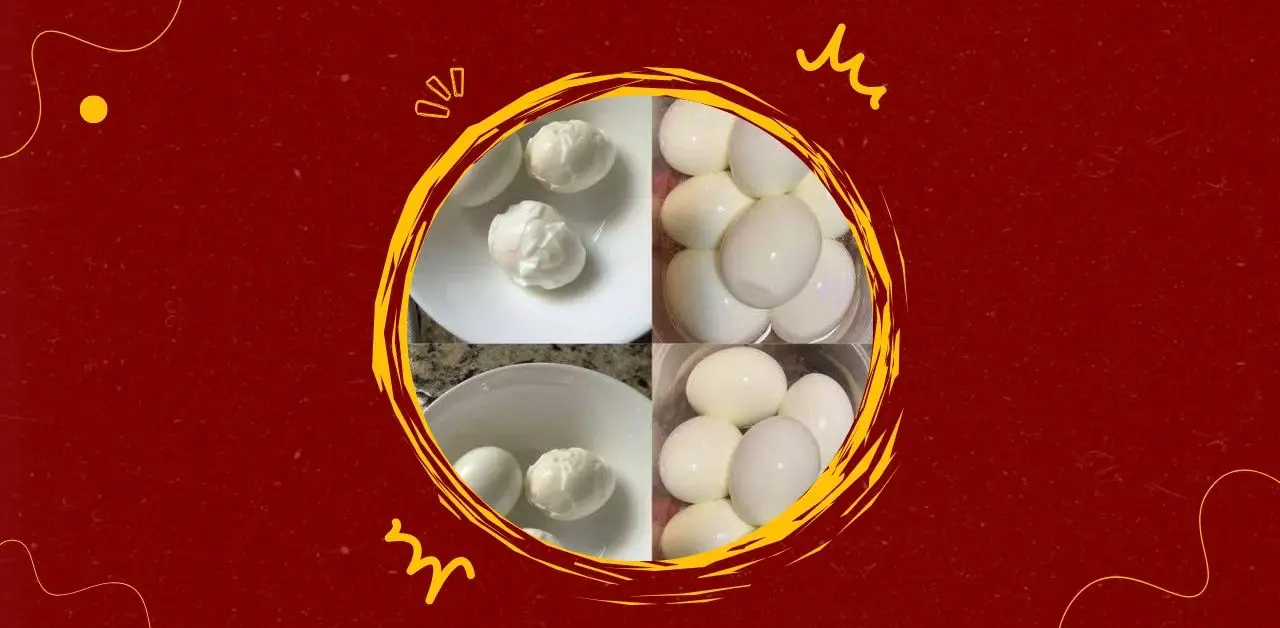
Perfectly Peeled Hard-Boiled Eggs are a kitchen essential, yet many people struggle with shells that cling stubbornly or whites that turn rough and pitted. Achieving smooth, flawless eggs requires attention to detail in cooking, cooling, and peeling. This recipe focuses on precision and technique, ensuring tender whites, creamy yolks, and shells that slip off effortlessly. The result is eggs that look beautiful and taste delicious, ideal for salads, deviled eggs, or simply enjoyed with a sprinkle of salt.
Ingredients
- 12 large eggs
- Water (enough to cover eggs by 1 inch in pot)
- 1 teaspoon salt (optional)
- 1 teaspoon baking soda (optional, helps loosen shells)
- Ice cubes for cooling bath
Instruction
- Arrange eggs in pot: Place eggs in a single layer in a saucepan. Add enough water to cover them by about 1 inch.
- Add salt or baking soda: Sprinkle in salt or baking soda to help shells release more easily.
- Bring to boil: Heat over medium-high until water reaches a rolling boil.
- Cook: Once boiling, reduce heat slightly and cook for 9–12 minutes depending on desired yolk firmness.
- 9 minutes: slightly softer yolk
- 12 minutes: fully firm yolk
- Cool immediately: Transfer eggs to a bowl of ice water. Let them sit for at least 10 minutes.
- Peel: Tap eggs gently on a hard surface, roll lightly to crack shell, then peel under running water for ease.
Servings
This recipe yields 12 hard-boiled eggs, perfect for snacks, salads, or meal prep.
Note
- Freshness matters: Slightly older eggs peel more easily than very fresh ones.
- Cooling tip: Rapid cooling in ice water is essential for easy peeling.
- Storage: Keep peeled eggs in an airtight container in the refrigerator for up to 5 days.
- Versatility: Serve plain, slice into salads, or mash into spreads.
Perfectly Peeled Hard-Boiled Eggs are deceptively simple yet require precision. The key lies in balancing heat and timing. By boiling eggs just long enough to set the yolks and cooling them rapidly, you prevent overcooking and ensure shells release cleanly. The addition of salt or baking soda helps break down the bond between shell and membrane, making peeling smoother.
The process itself is mindful: arranging eggs carefully in the pot, watching the water reach a boil, and transferring them quickly to ice water requires attention. Peeling under running water adds a tactile satisfaction, as shells slide away effortlessly.
These eggs are versatile in their use. They can be enjoyed as a simple protein-rich snack, sliced into sandwiches, or transformed into elegant appetizers. Their clean appearance makes them ideal for presentation, while their flavor remains timeless.
Cooking eggs perfectly is about more than technique—it’s about patience and respect for the ingredient. With care, you can elevate a basic staple into something consistently delightful, ready to enhance any meal.

