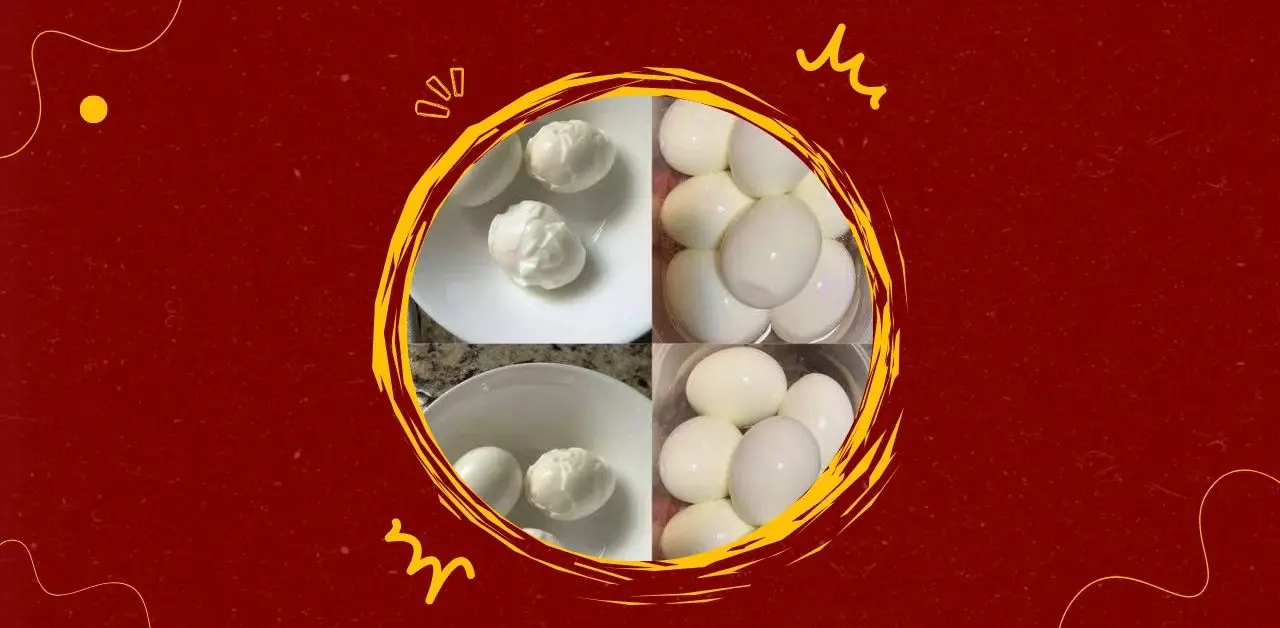
This comprehensive guide will walk you through the steps to consistently achieve perfectly cooked and easily peeled hard-boiled eggs. Say goodbye to frustrating shells that stubbornly cling to the whites, resulting in pockmarked and unsightly eggs. This method focuses on the right cooking time, proper cooling techniques, and effective peeling strategies to ensure smooth, intact, and visually appealing hard-boiled eggs every time. Whether you need them for salads, deviled eggs, snacking, or any other culinary creation, mastering the art of peeling hard-boiled eggs effortlessly will save you time and frustration in the kitchen. This guide incorporates various tips and tricks to maximize your success, transforming a seemingly simple task into a reliable and efficient process.
Ingredients:
- Fresh eggs (any quantity)
- Water
- Optional: 1/2 teaspoon salt or 1/2 teaspoon baking soda
Equipment:
- Saucepan
- Slotted spoon
- Bowl
- Ice
- Water
Instructions:
1. Choose Fresh Eggs (But Not Too Fresh):
While it might seem counterintuitive, slightly older eggs (about 7-10 days old) tend to peel more easily than very fresh eggs. The pH level of the egg white changes over time, causing it to adhere less strongly to the shell membrane. If you’re using very fresh eggs, don’t worry, the other steps in this guide will still significantly improve your peeling success.
2. Place Eggs in a Saucepan:
Arrange the eggs in a single layer at the bottom of a saucepan. Avoid overcrowding the pan, as this can lead to uneven cooking and potential cracking. If you’re cooking a large batch, use a larger saucepan.
3. Cover with Cold Water:
Pour cold water over the eggs until they are completely submerged by at least one inch. Starting with cold water allows the eggs to heat up gradually along with the water, which helps prevent cracking.
4. Optional Additives (Salt or Baking Soda):
Some people swear by adding a pinch of salt or about 1/2 teaspoon of baking soda to the water. Salt is believed to help the egg whites coagulate faster, potentially making them less likely to stick to the shell. Baking soda is thought to slightly raise the pH of the egg white, which can also make peeling easier. While these are optional, they might be worth trying if you consistently struggle with peeling.
5. Bring to a Boil:
Place the saucepan over high heat and bring the water to a rolling boil. Once the water is boiling vigorously, immediately remove the pan from the heat and cover it with a lid.
6. Let Eggs Stand (Cooking Time):
Allow the eggs to stand in the hot water for a specific amount of time, depending on your desired yolk consistency:
- Soft-boiled: 3-4 minutes
- Medium-boiled: 6-7 minutes (yolks will be slightly runny to jammy)
- Hard-boiled: 9-12 minutes (yolks will be firm and fully cooked)
For the purpose of easy peeling for hard-boiled eggs as shown in the image, aim for the 9-12 minute range. Keep in mind that the size of your eggs can slightly affect the cooking time. Larger eggs might require an extra minute or two. It’s better to slightly overcook than undercook if your primary goal is easy peeling for hard-boiled eggs. Overcooking significantly can lead to a rubbery texture and a green ring around the yolk, so finding the sweet spot is key.
7. Shock in Ice Water:
As soon as the cooking time is up, immediately transfer the eggs from the hot water to a bowl filled with ice water. This rapid cooling process, often called an “ice bath,” is crucial for easy peeling. The cold water helps to stop the cooking process and causes the egg whites to contract slightly, separating them from the shell membrane. Let the eggs sit in the ice water for at least 5-10 minutes, or until they are completely cool to the touch.
8. Peel the Eggs:
Once the eggs are thoroughly chilled, it’s time to peel them. Here are a few effective peeling techniques:
- The Gentle Crack and Roll: Gently tap the egg on a hard surface (like the countertop or a spoon) to crack the shell in several places all around the egg. Then, gently roll the egg between your palms. This helps to loosen the membrane. Start peeling from the wider end of the egg, where there is usually an air pocket. The shell should come off relatively easily.
- The Under-Water Peel: Some find it easiest to peel the eggs under a gentle stream of cold running water or submerged in a bowl of water. The water can help to lubricate the space between the shell and the egg white, making it easier to slip off.
- The Spoon Method: After cracking the egg, carefully insert a small spoon between the egg white and the shell. Gently work the spoon around the egg to separate the shell from the white.
- The Shake Method (for larger quantities): For a larger batch of cooled eggs, you can try this method. Gently crack the shells of all the eggs. Then, place them in a container with some cold water (about halfway full). Cover the container tightly and gently shake it for a few seconds. The water and shaking action can help to loosen the shells, making them easier to peel.
9. Rinse and Enjoy:
After peeling, rinse the eggs under cold water to remove any remaining shell fragments. Your perfectly peeled hard-boiled eggs are now ready to be enjoyed!
Tips for Success:
- Don’t Use Extremely Fresh Eggs: As mentioned earlier, slightly older eggs tend to peel better.
- Cool Down Quickly: The ice bath is a critical step for easy peeling. Don’t skip it!
- Peel Promptly (or Store Properly): It’s generally best to peel hard-boiled eggs soon after they’ve cooled. However, unpeeled hard-boiled eggs can be stored in the refrigerator for up to a week. Peeled eggs should be used within a few days and stored in an airtight container in the refrigerator.
- Experiment: Try the optional salt or baking soda in the cooking water to see if it makes a difference for you.
- Be Gentle: Even with the best techniques, peeling can sometimes be a little tricky. Be patient and gentle to avoid damaging the egg white.