
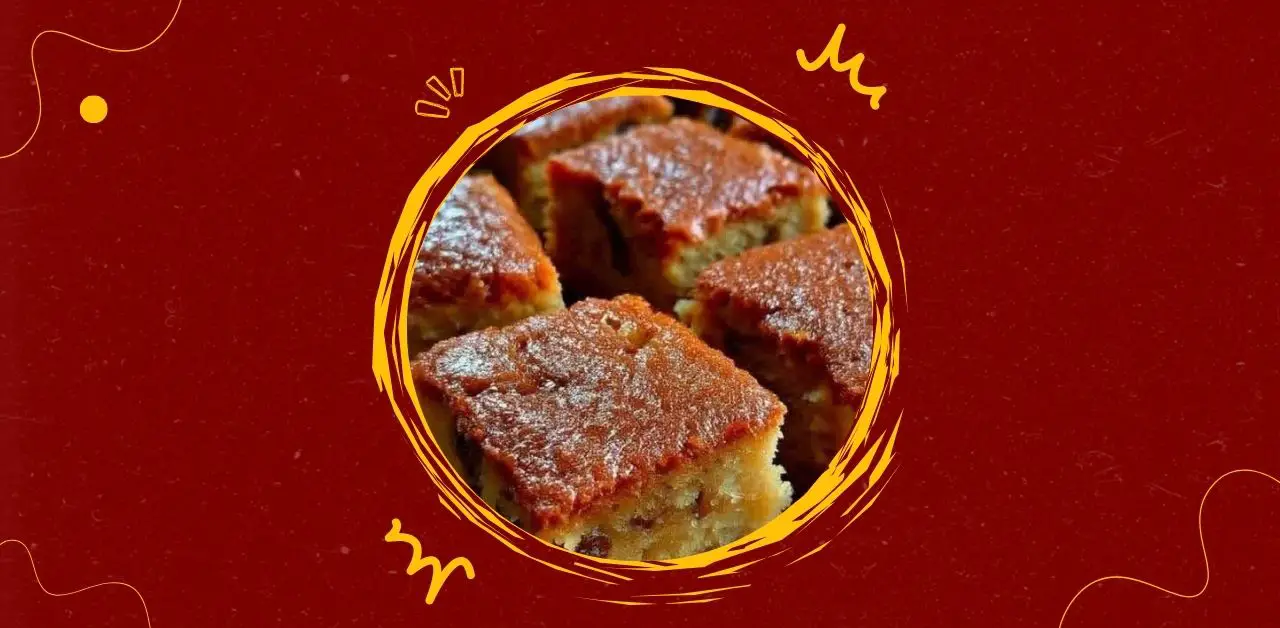
The Old-Fashioned Honey Raisin Cake is a timeless masterpiece of home baking, embodying the warmth and comfort of a traditional farmhouse kitchen. This recipe yields a dense, moist, and deeply aromatic cake that relies on the natural sweetness of honey and the chewy, concentrated flavor of sun-dried raisins. Unlike modern sponge cakes that are light and airy, this cake has a substantial, satisfying crumb—much like the square-cut portions seen in the accompanying image. It is a dessert that feels grounded in history, reminiscent of a time when ingredients were simple, wholesome, and chosen for their ability to provide lasting energy and comfort.
The visual appeal of this cake lies in its beautiful golden-brown glaze and the dark, jeweled appearance of the raisins peeking through the sponge. When sliced into uniform squares, it reveals a texture that is simultaneously soft and sturdy. The honey doesn’t just act as a sweetener; it serves as a humectant, drawing moisture into the cake and ensuring it remains fresh for days. The flavor profile is a sophisticated interplay between the floral notes of the honey, the rich undertones of brown butter, and the classic spice of cinnamon. It is a versatile treat, equally at home on a holiday dessert table as it is wrapped in parchment paper for a rustic afternoon snack.
This cake is more than just a sweet treat; it is an experience of textures. From the slightly tacky, sweet top layer to the tender interior punctuated by the burst of a plump raisin, every bite offers a different sensation. It is the kind of recipe that is passed down through generations, loved for its lack of pretension and its consistent ability to satisfy a sweet tooth with a touch of elegance.
INGREDIENTS
To achieve the rich, amber color and the specific moist crumb featured in the image, use high-quality, organic ingredients whenever possible.
The Fruit Base
- Seedless Raisins (2 cups): Use dark raisins for a classic look or Sultanas for a lighter flavor.
- Boiling Water (1 cup): Used to plump the fruit before baking.
- Dark Rum or Apple Juice (2 tablespoons): Optional, for soaking the raisins to add depth.
The Dry Ingredients
- All-Purpose Flour (2.5 cups): Provides the necessary structure for a dense cake.
- Ground Cinnamon (1.5 teaspoons): For warmth and aroma.
- Ground Nutmeg (1/4 teaspoon): To enhance the honey’s flavor.
- Baking Soda (1 teaspoon): To provide lift and react with the honey’s acidity.
- Salt (1/2 teaspoon): To balance the intense sweetness.
The Wet Ingredients
- Unsalted Butter (1/2 cup / 115g): Softened to room temperature for a creamy texture.
- Liquid Honey (1 cup): Use a wildflower or clover honey for a balanced taste.
- Large Eggs (2): At room temperature to ensure proper emulsion.
- Pure Vanilla Extract (1 teaspoon): To round out the aromatics.
- Whole Milk (1/2 cup): To thin the batter to the perfect pouring consistency.
The Honey Glaze
- Honey (2 tablespoons): For brushing the hot cake.
- Butter (1 tablespoon): Melted and mixed with the honey.
INSTRUCTIONS
1. Plumping the Raisins
The secret to a moist raisin cake is ensuring the fruit doesn’t “steal” moisture from the batter. Place your raisins in a heat-proof bowl and pour the boiling water over them. Let them sit for at least 20 minutes. Drain them thoroughly in a sieve and pat them dry with a paper towel. This ensures they remain plump and juicy throughout the baking process.
2. Preparing the Oven and Pan
Preheat your oven to 350°F (175°C). Grease an 8×8 inch or 9×9 inch square baking pan with butter and line the bottom with parchment paper, leaving an overhang on two sides. This allows you to lift the entire cake out easily to achieve the clean square cuts shown in the photo.
3. Sifting the Dry Components
In a medium bowl, whisk together the all-purpose flour, cinnamon, nutmeg, baking soda, and salt. Sifting is recommended to remove any lumps from the flour and ensure the baking soda is evenly distributed, which prevents uneven rising or dark spots in the cake.
4. Creaming the Honey and Butter
In a large mixing bowl (or using a stand mixer), beat the softened butter and the honey together on medium-high speed. Continue for about 3–5 minutes until the mixture looks pale and slightly aerated. Because honey is heavier than sugar, it won’t get as “fluffy” as a standard butter-sugar cream, but you are looking for a smooth, uniform emulsion.
5. Incorporating Eggs and Vanilla
Add the eggs one at a time, beating well after each addition. If the mixture looks like it is curdling, add a tablespoon of your flour mixture to help it bind. Stir in the vanilla extract.
6. The Alternating Method
With the mixer on low, add one-third of the dry ingredients, followed by half of the milk. Repeat the process, ending with the final third of the flour. Mix only until just combined. Over-mixing at this stage will develop gluten and make the cake tough rather than tender.
7. Folding in the Fruit
Gently fold the plumped raisins into the batter using a spatula. Ensure they are distributed evenly so that every square slice contains a generous amount of fruit.
8. The Baking Process
Pour the batter into the prepared pan and smooth the top with a spatula. Bake for 35 to 45 minutes. The cake is done when it is dark golden brown and a skewer inserted into the center comes out clean. The honey in the batter causes the cake to brown faster than a standard sugar cake, so keep an eye on it after the 30-minute mark.
9. Glazing for the Signature Shine
While the cake is still hot from the oven, whisk together the extra honey and melted butter. Use a pastry brush to coat the top of the cake. This creates the sticky, lustrous finish seen in the image and adds one last layer of sweetness.
10. Cooling and Cutting
Allow the cake to cool completely in the pan. This is vital; a warm honey cake is fragile and will crumble if cut too soon. Once cold, use the parchment overhang to lift the cake onto a cutting board. Using a long, sharp knife, trim the edges for a professional look, then slice into equal squares.
SERVINGS
This recipe yields 16 generous squares (based on a 4×4 grid in an 8-inch pan). It is a rich cake, so smaller portions are often preferred.
NOTE
The Role of Honey in Baking
Honey is a complex ingredient. It is slightly acidic and contains more moisture than granulated sugar. Because of this, it reacts beautifully with the baking soda in this recipe to create a fine, uniform crumb. Furthermore, honey-based cakes are known for their longevity. While most cakes dry out within 48 hours, this Honey Raisin Cake actually improves by the second day as the flavors meld and the moisture stabilizes.
Serving Suggestions
- The Tea Time Classic: Serve a square at room temperature with a dollop of unsweetened whipped cream to balance the richness.
- The Warm Dessert: Heat a square slightly in the microwave for 15 seconds and serve with a scoop of vanilla bean ice cream.
- The Morning Treat: This cake is sturdy enough to be eaten by hand, making it a perfect addition to a breakfast spread alongside fresh fruit.
Variations for the Modern Kitchen
- The Nutty Addition: Add 1/2 cup of toasted chopped walnuts or pecans for a textural contrast to the soft raisins.
- Zest it Up: Add the finely grated zest of one orange to the batter to brighten the deep honey flavors.
- Spice Adjustment: If you prefer a “darker” flavor profile, replace the cinnamon with a pumpkin spice blend or ginger.
Storage and Preservation
To maintain the texture seen in the image, store the squares in an airtight container at room temperature for up to 5 days. If you live in a very humid environment, you may want to refrigerate it after 3 days to prevent the honey glaze from becoming too sticky. This cake also freezes exceptionally well; wrap individual squares in plastic wrap and store in a freezer bag for up to 3 months. Thaw at room temperature for an hour before serving.
Troubleshooting
- Raisins Sinking: If your raisins all end up at the bottom, it means your batter was a bit thin or the raisins were too wet. Next time, toss the dried raisins in a tablespoon of flour before folding them in.
- Top Browning Too Fast: If the top is dark but the middle is still wobbly, tent the pan loosely with aluminum foil for the final 10 minutes of baking.
- Sticky Texture: If the cake feels “gummy,” it may be underbaked. Honey cakes require a full bake to set the internal structure properly.