
Setting up Google API for Blogger to index your blog posts quickly in Google Search Console involves several steps. Instant Indexing For Bloggers.
Topics About Instant Indexing For Bloggers
This process involves using Google APIs, specifically the Google Indexing API, to notify Google about new and updated content on your Blogger blog. Here’s a step-by-step guide on how to set it up:
Instant Indexing For Bloggers Setup Process:
1. Prerequisites:
- You need a Google account.
- You should have a Blogger blog that you want to index quickly.
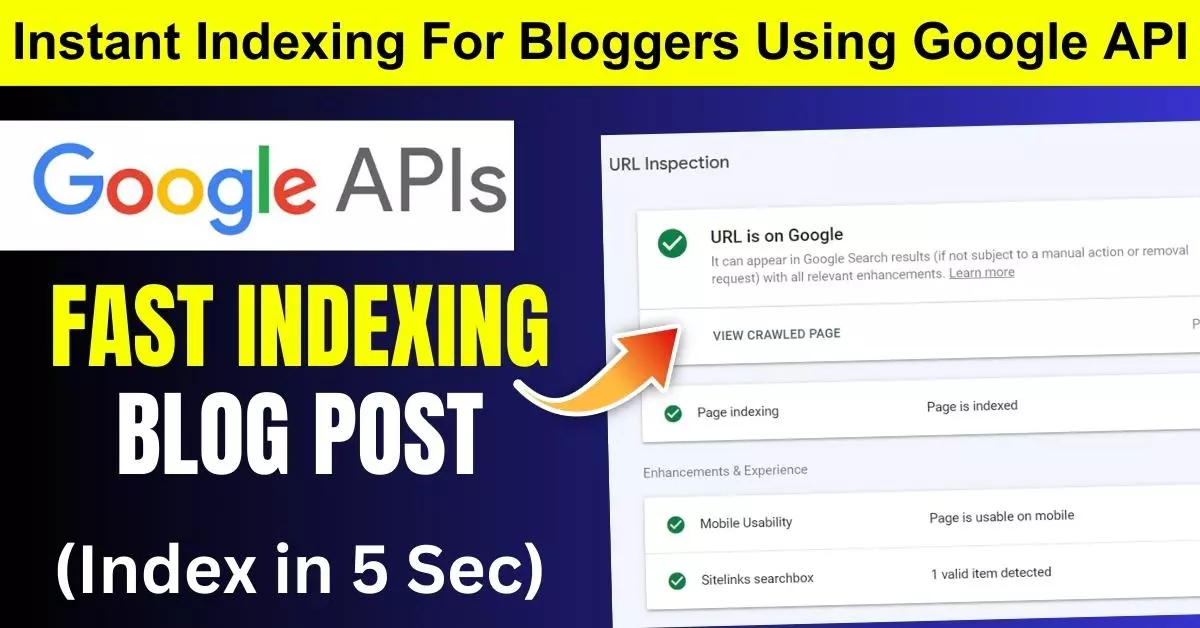
- You need to verify and add your blog to Google Search Console (if it’s not already added).
2. Create a Project on Google Cloud Platform:
- Go to the Google Cloud Console (https://console.cloud.google.com/).
- Click on “Select a Project” and create a new project.
3. Enable the Google Indexing API:
- In the Google Cloud Console, navigate to the project you created.
- In the left sidebar, click on “APIs & Services” and then click on “Dashboard.”
- Click on “+ ENABLE APIS AND SERVICES.”
- Search for “Google Indexing API” and click on it.
- Click the “Enable” button.
4. Create OAuth 2.0 Credentials:
- In the Google Cloud Console, go to “APIs & Services” > “Credentials.”
- Click on “Create credentials” and select “OAuth client ID.”
- Choose “Web application” as the application type.
- Set the authorized JavaScript origins and redirect URIs to match your Blogger URL (e.g., https://yourblog.blogspot.com).
- Click “Create.”
5. Note Down Your Client ID and Client Secret:
- After creating the OAuth 2.0 credentials, you’ll receive a Client ID and Client Secret. Keep these details handy; you’ll need them later.
6. Blogger API Key:
- Visit the Blogger API Console (https://developers.google.com/blogger/docs/3.0/getting_started) and create a project.
- Note down the API Key.
7. Configure Your Blogger Blog:
- Go to your Blogger Dashboard.
- Navigate to “Settings” > “Search preferences.”
- Under “Google Search Console,” click “Edit” and add the URL of your Google Cloud OAuth 2.0 client ID (e.g., https://www.googleapis.com/auth/indexing).
8. Set Up the Indexing API in Blogger:
- In the Blogger API Console, create an API key for your project and make it an “API Key for Blogger” key.
- Go to “Settings” > “Search preferences” in Blogger.
- Click on “Enable” next to the “Indexing API” section.
- Enter the Blogger API Key you generated.
9. Authorize and Test the Setup:
- In your Blogger dashboard, go to “Settings” > “Search preferences” > “Google Search Console.”
- Click “Authorize” and follow the steps to authorize your blog.
- Test the setup by publishing a new post or updating an existing one. Google will receive a request to index your content more quickly.
10. Monitor in Google Search Console:
- In Google Search Console, monitor the performance of your blog and check if new content is being indexed faster.
This process may take some time, and you should be patient as Google indexes your content. Keep an eye on your Search Console to ensure that it’s working as expected.
- For more latest posts: Click Here
Google API Console:
Google Colab:
https://colab.research.google.com/drive/1VT4Hdpm4mauQoM4q-xHtc1Jrbl-4VGUg?usp=sharingPlease note that the process may evolve over time, and the specific steps and options may change. Ensure that you consult the latest Google and Blogger documentation for any updates.