
This recipe celebrates the timeless art of bread making, guiding you from a simple mixture of flour and water to the satisfying aroma of freshly baked loaves. The process is meditative and rewarding, transforming humble ingredients into a golden, crusty exterior and a soft, airy interior. Whether you’re a beginner or a seasoned home baker, this recipe offers a reliable method to produce two loaves of classic homemade bread with a balanced flavor, tender crumb, and crisp crust.
The dough begins with a slow rise, allowing the yeast to develop flavor and structure. After proofing, it’s gently punched down to release excess gas, shaped into loaves, and baked to perfection. The result is bread that’s versatile enough for sandwiches, toast, or simply enjoyed warm with butter. This guide includes practical tips for kneading, proofing, and baking, ensuring success even without fancy equipment.
INGREDIENTS:
- All-purpose flour – 6 cups (plus extra for kneading)
- Warm water – 2 ½ cups (around 105–110°F or 40–43°C)
- Active dry yeast – 2 ¼ teaspoons (1 packet)
- Granulated sugar – 2 tablespoons
- Salt – 2 teaspoons
- Vegetable oil or melted butter – 2 tablespoons (optional, for added richness)
- Cornmeal or flour – for dusting pans
INSTRUCTION:
- Activate the yeast In a large mixing bowl, combine warm water and sugar. Stir to dissolve. Sprinkle the yeast over the surface and let it sit for 5–10 minutes until foamy. This indicates the yeast is active and ready to work.
- Mix the dough Add salt and oil (if using) to the yeast mixture. Gradually stir in the flour, one cup at a time, using a wooden spoon or dough hook. Continue until a shaggy dough forms and pulls away from the sides of the bowl.
- Knead the dough Transfer the dough to a lightly floured surface. Knead for 8–10 minutes, folding and pressing until the dough becomes smooth and elastic. If it’s sticky, sprinkle with small amounts of flour as needed.
- First rise (proofing) Place the dough in a lightly oiled bowl, turning it once to coat all sides. Cover with a damp cloth or plastic wrap. Let it rise in a warm, draft-free area for 1 to 1½ hours, or until doubled in size.
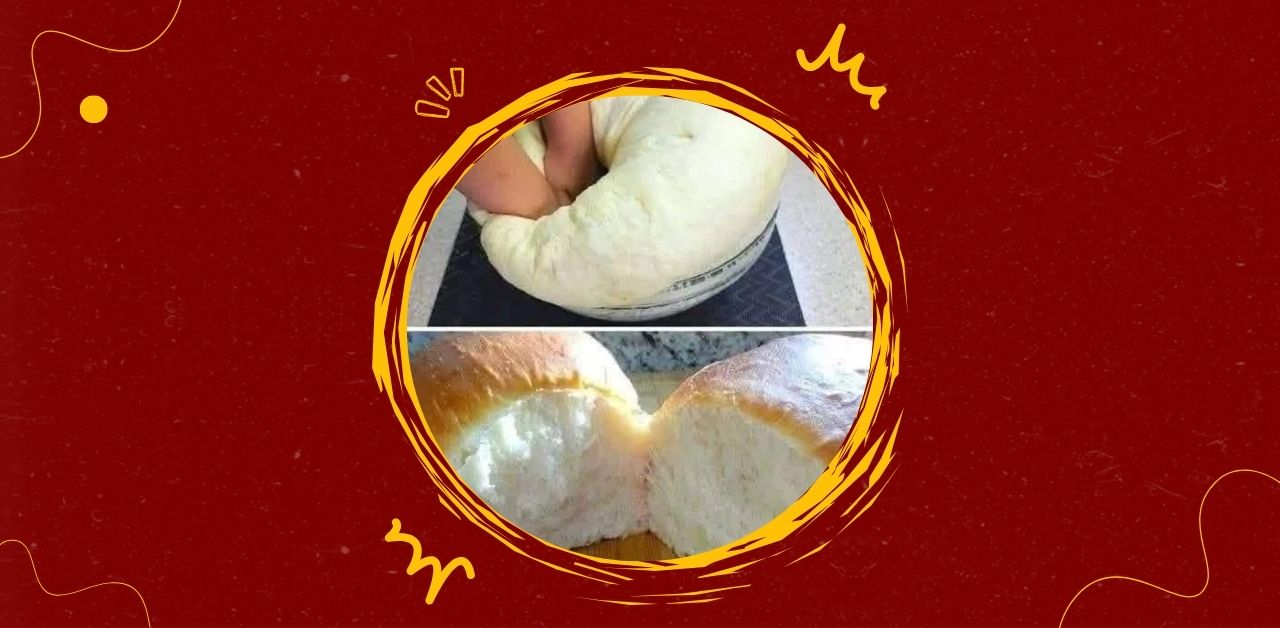
- Punch down and shape Gently punch down the risen dough to release gas. Turn it out onto a floured surface and divide it into two equal portions. Shape each into a loaf by flattening into a rectangle, then rolling tightly from one end. Pinch the seams and tuck the ends under.
- Second rise Place the shaped loaves into greased loaf pans dusted with cornmeal or flour. Cover loosely and let rise again for 30–45 minutes, until the dough has puffed up and nearly doubled.
- Preheat the oven While the loaves are rising, preheat your oven to 375°F (190°C). Place a rack in the center of the oven.
- Bake the bread Bake the loaves for 30–35 minutes, or until the tops are golden brown and the loaves sound hollow when tapped. For extra crispness, you can brush the tops with water before baking or place a pan of hot water in the oven to create steam.
- Cool and serve Remove the loaves from the pans and transfer to a wire rack. Let them cool for at least 30 minutes before slicing. This helps the crumb set and prevents gumminess.