
Honey Garlic Glazed Roasted Chicken Drumsticks are a masterclass in balancing sweet, savory, and umami flavors. This dish features succulent chicken legs that have been roasted until the skin is perfectly caramelized and the meat is tender enough to fall off the bone. The true star, however, is the glossy, sticky glaze that coats every inch of the chicken. This glaze is a reduction of golden honey, pungent fresh garlic, and a hint of soy sauce, which together create a multidimensional flavor profile that appeals to both children and adults alike.
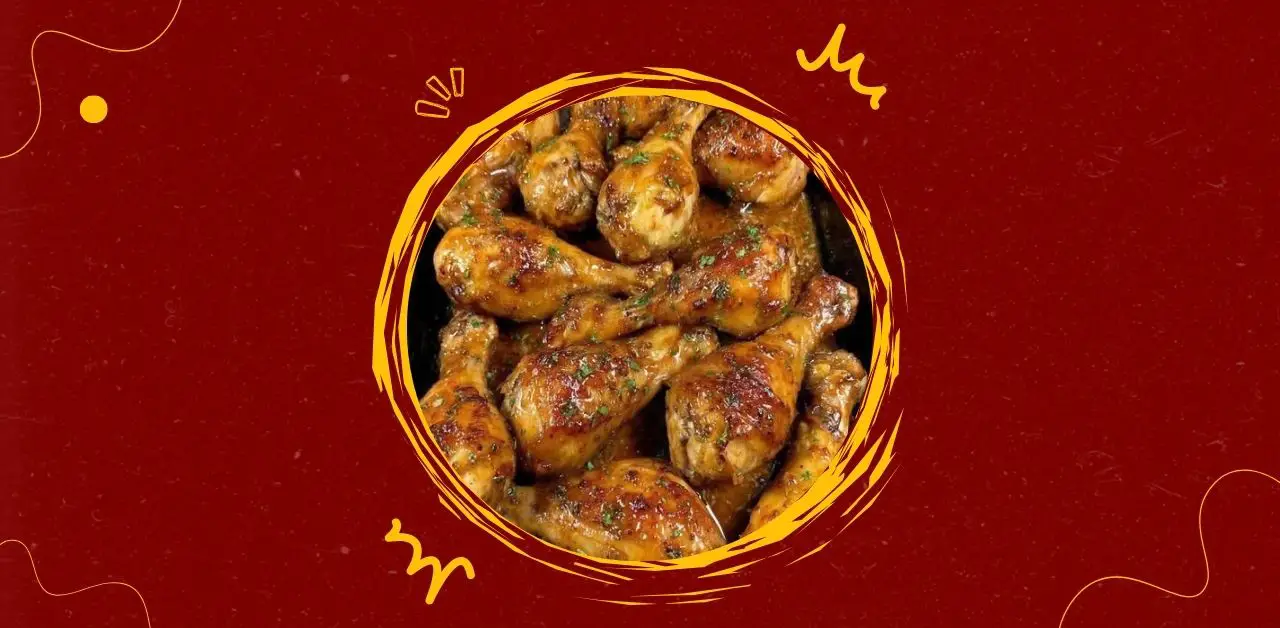
Visually, the dish is striking. The drumsticks emerge from the oven with a deep, mahogany-gold hue, shimmering under a thick layer of sauce that clings to the meat. Garnished with a sprinkle of fresh green herbs, such as parsley or scallions, the dish looks as vibrant as it tastes. This recipe is particularly beloved for its accessibility; it uses common pantry staples to transform a budget-friendly cut of meat into a centerpiece worthy of a Sunday dinner or a festive gathering. The roasting process allows the fat from the chicken skin to render out and mingle with the honey, creating a natural sauce that infuses the meat with moisture and depth. It is a dish that promises sticky fingers and satisfied appetites, offering a nostalgic comfort-food experience with a slightly sophisticated, sweet-and-sour edge.
INGREDIENTS
The secret to a perfect roasted drumstick lies in the quality of the glaze and the seasoning of the meat itself. Each ingredient plays a specific role in achieving that signature sticky-yet-tender finish.
The Poultry:
- Chicken Drumsticks (3 to 4 pounds): Approximately 12 to 14 large drumsticks. Ensure they are patted completely dry with paper towels to allow the skin to crisp effectively.
The Honey Garlic Glaze:
- Honey (½ cup): Use a high-quality, fluid clover or wildflower honey. This provides the sweetness and the sticky body of the sauce.
- Fresh Garlic (6 to 8 cloves, minced): Fresh garlic is non-negotiable here. Its pungent aroma mellows during roasting, turning sweet and nutty.
- Low-Sodium Soy Sauce (¼ cup): Provides the necessary salt and a deep umami undertone without overpowering the other flavors.
- Apple Cider Vinegar (2 tablespoons): The acidity cuts through the sugar of the honey and the fat of the chicken, balancing the overall palate.
- Fresh Ginger (1 tablespoon, grated): Adds a subtle, warming heat and a layer of aromatic complexity.
- Toasted Sesame Oil (1 teaspoon): A small amount goes a long way in adding a nutty, roasted scent to the glaze.
The Seasoning Rub:
- Olive Oil (2 tablespoons): Helps the dry seasonings adhere to the skin and aids in the browning process.
- Smoked Paprika (1 tablespoon): Provides a beautiful reddish-brown color and a faint hint of woodsmoke.
- Onion Powder (1 teaspoon): Adds a savory, concentrated onion flavor that permeates the meat.
- Kosher Salt (1 ½ teaspoons): Essential for seasoning the meat deeply.
- Freshly Cracked Black Pepper (1 teaspoon): Provides a sharp, spicy contrast to the sweet honey.
- Dried Oregano (½ teaspoon): Adds a faint earthy, floral note.
Garnish:
- Fresh Parsley (2 tablespoons, finely chopped): For a bright, fresh finish.
- Red Pepper Flakes (optional): For those who prefer a “hot honey” kick.
INSTRUCTIONS
Step 1: Preparation and Drying
Preheat your oven to 400°F (200°C). This high heat is necessary to render the chicken fat and achieve a golden exterior. Take the chicken drumsticks out of their packaging and pat them thoroughly dry with paper towels. Removing surface moisture is the most important step for ensuring the skin roasts rather than steams.
Step 2: The Initial Seasoning
In a large mixing bowl, toss the dried drumsticks with the olive oil, smoked paprika, onion powder, salt, black pepper, and dried oregano. Use your hands or tongs to ensure every drumstick is evenly coated in the spice rub. This initial layer of flavor seasons the meat and ensures the chicken looks appetizing even before the glaze is applied.
Step 3: The First Roast
Arrange the drumsticks in a large, heavy-duty roasting pan or a rimmed baking sheet. Ensure they are in a single layer with a bit of space between each piece to allow for air circulation. Place the pan in the preheated oven and roast for 25 to 30 minutes. During this time, the chicken will cook about 75% of the way through, and the skin will begin to tighten and brown.
Step 4: Preparing the Honey Garlic Reduction
While the chicken is in its first roast, prepare the glaze. In a small saucepan over medium heat, combine the honey, minced garlic, soy sauce, apple cider vinegar, grated ginger, and sesame oil. Bring the mixture to a gentle simmer, whisking frequently. Let it bubble for about 5 to 7 minutes until it has reduced slightly and thickened into a syrupy consistency. Remove from heat and set aside.
Step 5: Glazing the Chicken
Carefully remove the roasting pan from the oven. Using a pastry brush or a large spoon, generously coat each drumstick with about half of the honey garlic glaze. Turn the drumsticks over to ensure the undersides are also coated. The heat of the chicken will cause the glaze to thin out and run into the bottom of the pan, where it will mix with the rendered chicken juices.
Step 6: The Final Caramelization
Return the pan to the oven and roast for another 10 to 15 minutes. Every 5 minutes, basting the chicken with the juices and glaze from the bottom of the pan. This layering process is what creates that deep, sticky “lacquered” look. The internal temperature of the thickest part of the drumstick should reach 165°F (74°C).
Step 7: The Broil (Optional but Recommended)
If you want an extra-dark, bubbly crust, turn your oven to the “Broil” setting for the last 2 to 3 minutes of cooking. Watch the chicken like a hawk during this stage, as the high sugar content in the honey can go from perfectly caramelized to burnt very quickly.
Step 8: Resting and Garnishing
Remove the chicken from the oven and let it rest in the pan for 5 minutes. This allows the juices to redistribute and the glaze to “set” and become even stickier as it cools slightly. Transfer the drumsticks to a serving platter and pour any remaining thickened glaze from the pan over the top. Sprinkle with fresh parsley and red pepper flakes if desired.
SERVINGS
- Yields: 6 to 8 servings
- Prep Time: 15 minutes
- Cook Time: 45 minutes
- Total Time: 1 hour
NOTE
Tips for Culinary Success:
- Pan Choice: Using a glass baking dish (as seen in the photo) is excellent for serving, but a metal rimmed baking sheet often provides better heat conduction for crispier skin. If using glass, ensure the chicken isn’t too crowded, or it will release too much moisture and boil rather than roast.
- The Garlic Factor: If you are a true garlic lover, you can leave some of the garlic cloves whole and toss them in the pan with the chicken. They will confit in the honey and chicken fat, becoming soft, buttery, and incredibly delicious spread over bread or eaten with the chicken.
- Substitution for Honey: If you do not have honey, maple syrup or brown sugar mixed with a tablespoon of water can be used as a substitute, though the flavor profile will shift toward a more woody or molasses-like sweetness.
- Managing the “Burn”: Because honey burns easily, keep an eye on the bottom of your pan. If the juices start to look too dark or smell like they are burning before the chicken is done, add a splash of water or chicken broth to the pan to loosen the sugars.
- Storage and Reheating: These drumsticks make incredible leftovers. Store them in an airtight container for up to 4 days. To reheat, place them in an oven at 350°F until warmed through; avoid the microwave to prevent the skin from becoming rubbery.
- Serving Suggestions: This dish pairs perfectly with a neutral side that can soak up the extra glaze, such as jasmine rice, mashed potatoes, or even a simple crusty baguette. For a lighter option, a crisp cucumber salad with a rice vinegar dressing provides a refreshing contrast to the richness of the meat.