
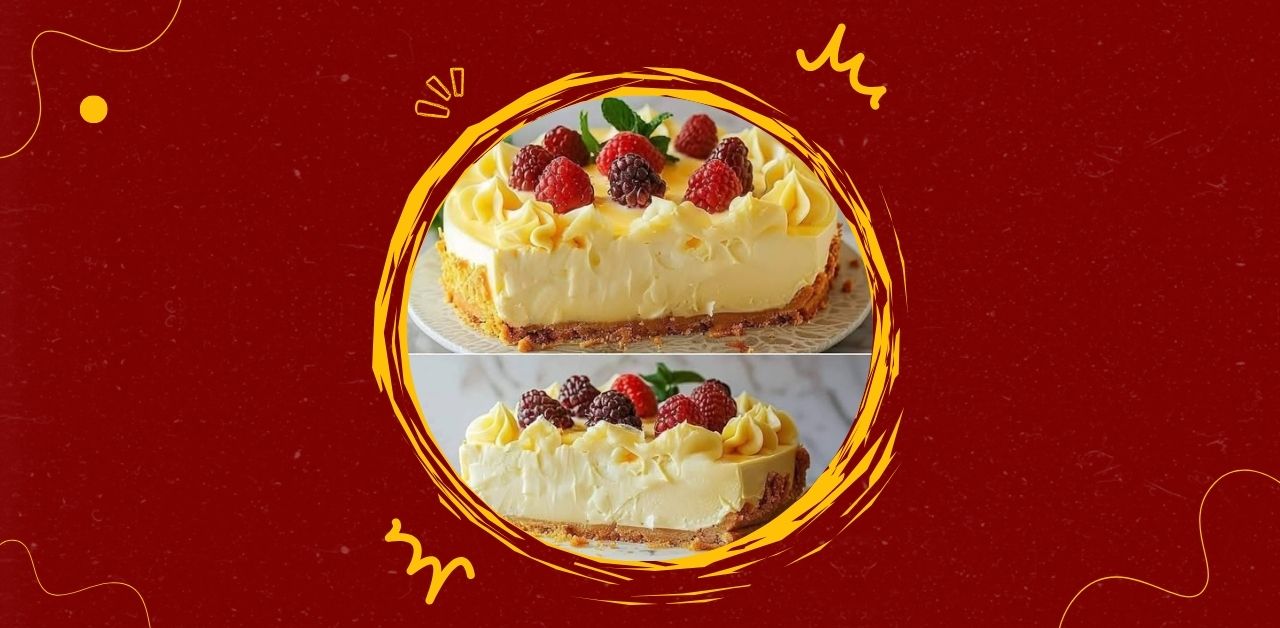
Creamy Fruit-Topped Cheesecake Tart is a luxurious dessert that combines a buttery, crumbly crust with a smooth, velvety filling and a vibrant topping of fresh berries and mint. The base is made from crushed biscuits and melted butter, pressed into a tart pan and baked until golden. The filling is a rich blend of cream cheese, eggs, and sweetened milk, baked gently to achieve a silky texture that melts in the mouth. Once cooled, the tart is adorned with piped cream swirls and fresh raspberries, blackberries, and mint leaves, creating a visually stunning centerpiece that’s as delicious as it is beautiful.
This dessert is ideal for birthdays, holidays, or any occasion that calls for a touch of elegance. It’s easy to prepare in stages, stores well, and can be customized with different fruits, flavors, or decorative styles. The balance of creamy filling, crisp crust, and juicy berries makes each bite a celebration of texture and taste. Whether served with coffee, tea, or sparkling drinks, this cheesecake tart offers a refined finish to any meal.
INGREDIENTS:
For the crust:
- 2 cups crushed digestive biscuits or graham crackers
- 1/2 cup unsalted butter, melted
- 2 tablespoons sugar (optional)
- 1/4 teaspoon salt
For the filling:
- 500g cream cheese (softened)
- 1/2 cup sour cream or plain yogurt
- 3/4 cup sweetened condensed milk
- 2 large eggs
- 1 teaspoon vanilla extract
- 1 tablespoon cornstarch (optional, for firmness)
- Zest of 1 lemon or orange (optional, for brightness)
For decoration:
- 1/2 cup heavy cream (chilled)
- 1 tablespoon powdered sugar
- 1/2 teaspoon vanilla extract
- Fresh raspberries
- Fresh blackberries
- Mint leaves
Equipment:
- 9-inch tart pan or springform pan
- Parchment paper
- Mixing bowls
- Electric mixer or whisk
- Spatula
- Piping bag with star tip (optional)
- Oven and cooling rack
INSTRUCTION:
Step 1: Prepare the crust
- Preheat oven to 175°C (350°F).
- In a mixing bowl, combine crushed biscuits, melted butter, sugar, and salt.
- Stir until the mixture resembles wet sand and holds together when pressed.
- Line the bottom of the tart pan with parchment paper.
- Press the crust mixture evenly into the bottom and up the sides of the pan.
- Use the back of a spoon or flat-bottomed glass to compact the crust.
- Bake for 10 minutes until lightly golden.
- Remove from oven and let cool while preparing the filling.
Step 2: Make the filling
- In a large bowl, beat softened cream cheese until smooth and creamy.
- Add sour cream and condensed milk. Mix until fully incorporated.
- Beat in eggs one at a time, followed by vanilla extract and citrus zest.
- Add cornstarch if using, and mix gently.
- Pour the filling into the cooled crust and smooth the top with a spatula.
- Tap the pan gently on the counter to release air bubbles.
Step 3: Bake the tart
- Place the pan on a baking tray and bake for 35–40 minutes.
- The edges should be set, and the center slightly wobbly.
- Turn off the oven and leave the tart inside with the door slightly open for 10 minutes.
- Remove and cool to room temperature.
- Refrigerate for at least 4 hours, preferably overnight, to set fully.
Step 4: Prepare the whipped cream
- In a chilled bowl, beat heavy cream with powdered sugar and vanilla until stiff peaks form.
- Transfer to a piping bag fitted with a star tip.
- Pipe decorative swirls around the edge of the tart.
- Alternatively, spread whipped cream evenly over the top.
Step 5: Decorate with fruit
- Arrange fresh raspberries and blackberries in the center or along the cream swirls.
- Add mint leaves for color and freshness.
- Optional: dust with powdered sugar or drizzle with berry syrup.
Step 6: Slice and serve
- Use a sharp knife to slice the tart into wedges.
- Wipe the blade between cuts for clean edges.
- Serve chilled with coffee, tea, or sparkling water.
SERVINGS:
This recipe yields 8 to 10 slices, depending on portion size. It’s ideal for small gatherings, family dinners, or as a make-ahead dessert for special occasions.
NOTE:
Crust Tips
- Biscuit choice: Digestive biscuits, graham crackers, or shortbread all work well.
- Texture: Press firmly for a stable base. Chill before baking for extra firmness.
- Flavor twist: Add cinnamon or crushed nuts to the crust for depth.
Filling Tips
- Cream cheese: Use full-fat for best texture. Soften at room temperature for smooth blending.
- Sweetness: Adjust condensed milk based on preference.
- Eggs: Beat gently to avoid air bubbles and cracks.
- Flavoring: Citrus zest adds brightness; almond extract offers a nutty twist.
Baking Tips
- Doneness: Slight wobble in the center is normal—it firms up as it cools.
- Cooling: Gradual cooling prevents cracks.
- Chilling: Essential for setting and flavor development.
Whipped Cream Tips
- Chilling: Cold cream and bowl ensure stable peaks.
- Sweetness: Adjust sugar to taste.
- Piping: Practice on parchment before decorating the tart.
Fruit Tips
- Freshness: Use ripe, firm berries for best appearance and flavor.
- Arrangement: Symmetrical patterns or random clusters both work well.
- Mint: Adds aroma and visual contrast.
Serving Suggestions
- With drinks: Pair with espresso, herbal tea, or sparkling lemonade.
- As dessert: Serve after light meals or festive dinners.
- For gifting: Chill and pack in decorative boxes with parchment lining.
- For parties: Slice into smaller portions and serve on platters.
Storage and Shelf Life
- Refrigeration: Store covered for up to 4 days.
- Freezing: Freeze without whipped cream or fruit for up to 1 month. Thaw and decorate before serving.
- Transport: Keep chilled during travel to maintain texture.
Customization Ideas
- Fruit variations: Use strawberries, blueberries, or kiwi.
- Nut crust: Replace biscuits with crushed almonds or pecans.
- Chocolate twist: Add cocoa powder to crust or drizzle chocolate over the top.
- Layered version: Add a thin jam layer between crust and filling.
Practical Tips
- Batch prep: Make two tarts for larger events.
- Uniform slices: Use a ruler or guide for even portions.
- Presentation: Serve on cake stands or patterned plates for elegance.
- Garnish: Add edible flowers or citrus curls for flair.
Mindful Baking
- Sensory cues: Watch for golden crust, creamy filling, and vibrant toppings.
- Relaxation: Baking this tart is a calming ritual—enjoy each step.
- Sharing joy: Perfect for celebrations—serve with warmth and generosity.
- Creative expression: Customize flavors, shapes, and decorations to reflect your style.
- Seasonal twist: Use seasonal fruits for fresh variations.
- Cultural connection: Cheesecake-style tarts are beloved worldwide—celebrate their versatility and heritage.